
This is the second part of my blog series about the installation and configuration an APEX database in the Amazon Cloud. Refer to following posts for the explanation of the whole solution:
- Create Oracle APEX Environment in the Amazon Cloud with RDS: Part 1 – Overview
- Part 3: Configure APEX with Oracle Rest Data Service (ORDS) in the EC2 Container
- Part 4: Configure APEX with ORDS, Apache-Tomcat und Nginx
Create the Virtual Private Cloud (Network) in AWS
At first, I will create my customer network in AWS.
In the AWS Console navigate to VPC and click on „Create VPC“. Specify the IPv4 IP Range (CIDR Block) and try „Create“:

Navigate to created VPC und enable the DNS Resolution:


Enable DNS Hostnames:
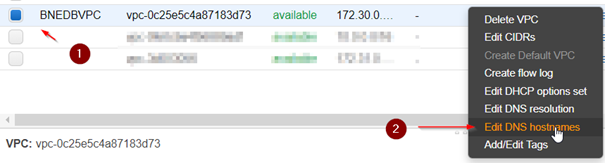

Verify the created VPC

Create Internet gateway
Now we will create the Internet gateway to connect the VPC to the Internet

Attach Internet Gateway to VPC


Create three public subnets in Frankfurt Region
At this time, we will create three subnets in our VPC
Subnet 1

Subnet 2

Subnet 3

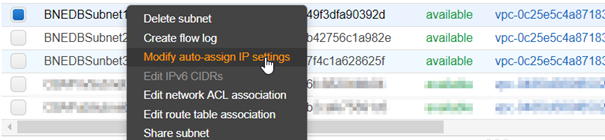
Enable Auto-Assign Ip-Address
For all three Subnets enable the Auto Assign IP-Addresses
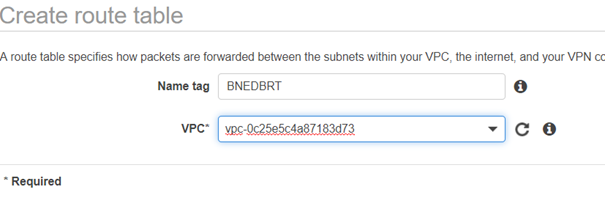
Create and Configure the Route Table
Now we will create the route table to handle to enable for all instances the internet access:
Add Routes

Check:

Now we will associate the created route table with three subnets:

Check:

Create the Oracle Database in the RDS (Relation Database Service) in AWS
Now we will create the oracle managed database in AWS.
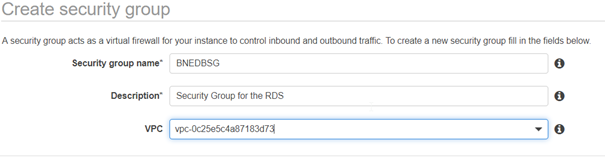
Create the Security Group for the Database
At first, we will create the database subnet group. It will be referenced by creating the database.
In the EC2 Console navigate to Security Groups and create a Security Group:
Add Tag (unique name) for the security group:


Create Inbound Rules

Check:

Create DB Subnet Group
Now we will create the database subnet group. It will be used by creating the database.
RDS -> Create DB Subnet Group


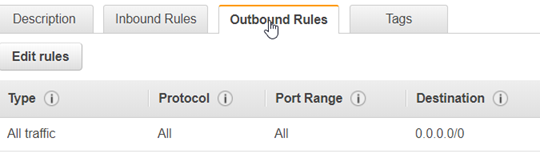
Create Outbound Rules
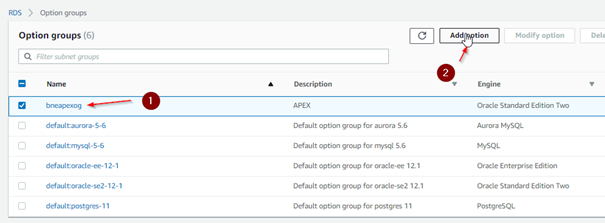
Create an Option Group with APEX Software:
Per default, the APEX is not enabled by the creating of the database. We will now create the Option Group that includes APEX:
RDS -> Option Groups -> Create Option Group

Create
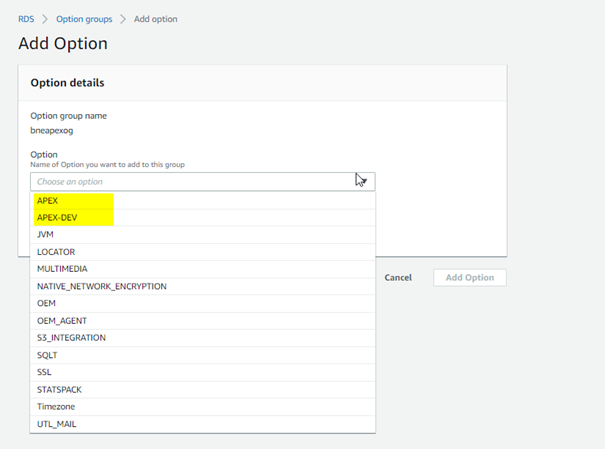
Then „Add Option“:
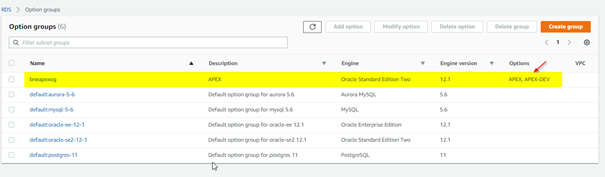
Add APEX and APEX_DEV:
Create the database:

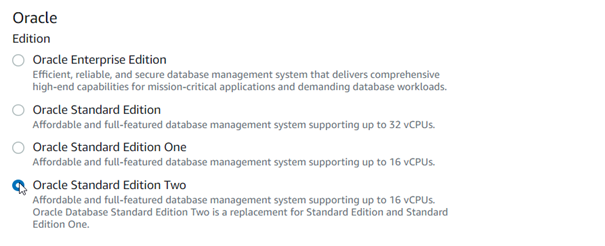
Choose Database Vendor: Oracle

And Edition: Oracle Standard Edition Two:
Specify the Use Case:

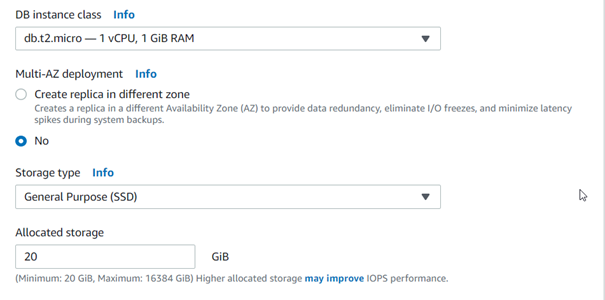
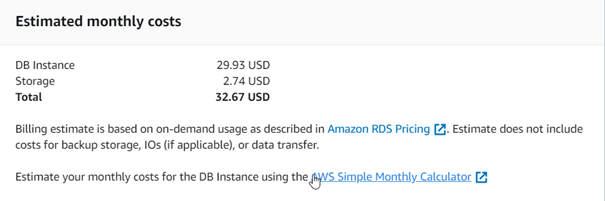
Specify the database configuration:


Define the admin user (in my case: bne) and set and save the master password for the database. You will able to connect to the database with the admin-user and the master password.
Network Settings:
You can choose already created network (VPC) and the security group:

Database settings: Choose the created Option Group, that includes APEX:

The Storage Encryption is for this instance type disabled (for the production environment enable the encryption):

We will configure the backup retention: 1 Day (only for the tests):

Monitoring: let defaults:

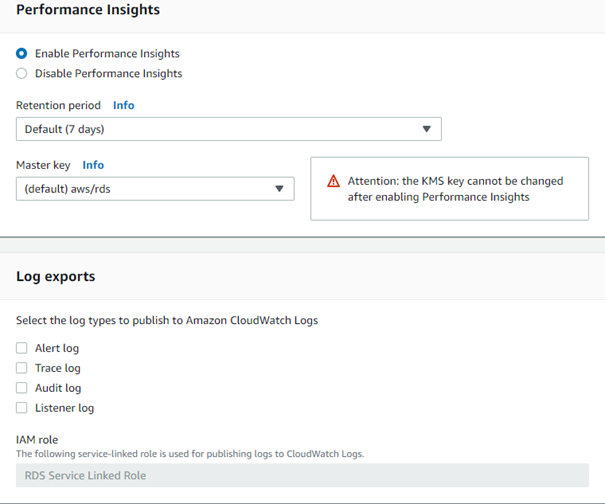
Additional Settings:


Create Database“¦

The installation takes about 30 minutes.
Test the DB Connection
Check and Save the Endpoint (Server Name) and Listener Port:

In the SQL Developer „Create Connection“:

Connect“¦
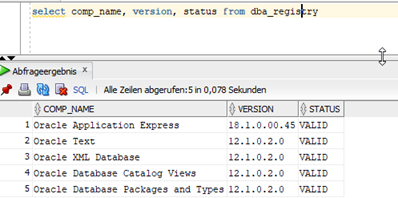
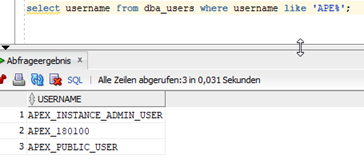
APEX is now installed“¦
Previously Blog post in this series:
Next Blog post in this series:


