
In the last days i was searching a way to package my little Spring Boot app as a docker container and deploy that container to the Oracle Container Service Classic (OCSC).
My first idea was to use the Oracle Developer Cloud Service to do that.
My naive first thought was: „Hey two Oracle Cloud Services, that must be an easy task.“ But no, it was not an easy task, involved only some klicks on the console. It can be just easy, when i want to deploy simply the created .war file but docker containers… no.
But what was the problem? Well, the Developer Cloud Service uses Hudson to build the code. So far so god. The problem here is, we have no docker installation an we can´t install it during the build. In the end, building the project is no problem, creating the container is actually impossible.
On that point a colleague tells me about that new Service Oracle has bought, Werker. Wercker is a build system based on docker containers. Every build step is running in a docker container. And the best part of it, you can deploy that docker container directly to a docker registry of your choice.
Creating your Buildpipeline
After logging in on https://app.wercker.com/ you can create a new Application.
The first step is to choose your SCM provider. Actually Github, Bitbucket und Gitlab are supported. On Step two you must select the project you want to create an application from. After that you only have to configure the access and on the last step review your input. After that you are ready to build the app.
Building the app
All the Wercker stuff is defined in an configuration file named wercker.yml in your project root folder.
To build your project using maven simply add the following pipeline configuration to your wercker.yml
[code]
# (1) defining the box
box: maven:latest
# (2) name of our pipeline
build:
steps:
# (3) a build step
– xenoterracide/maven:
goals: package spring-boot:repackage
– script:
name: copy package to output
# (4) copy artefact to output
code: |
cp ./target/*.jar $WERCKER_OUTPUT_DIR/cloud-ci-vergleich.jar
[/code]
- Defines the docker container you want to use for that build. Here i use the Wercker container for maven builds.
- Defines a logical name for that pipeline block. We need this later
- These are the build steps. The first is the maven build step which only runs the specified maven goals
- The last step for now is to copy the resulting jar file to the wercker output dir. Every file in that dir will be copied as input for the next part of the building workflow.
It is possible to push that container directly as the resulting container. That has the drawback, that this container is larger than necessary so we pass only the artifact to the next pipeline.
After you created your app on the Wercker web app. One pipeline is available as default, named „build“. We have named our pipeline configuration also „build“ so that this pipeline will be run.
Wercker installs also a webhook so that every commit to your repository will trigger the workflow that build your application.
Creating the container and push it to the registry
After building the artifact it is time to create the container and to push that container to a registry. In the example i will push the container to Docker Hub.
To build and publish the container we extend the wercker.yml with the following configuration.
[code]
# (4) create an name for that pipeline
deploy:
# (5) configure the container
box:
id: openjdk
tag: 8-jre-alpine
cmd: /bin/sh # see: http://devcenter.wercker.com/docs/faq/alpine-faq
steps:
# (6) moving our artifact to the final location
– script:
code: |
mv $WERCKER_SOURCE_DIR/cloud-ci-vergleich.jar /cloud-ci-vergleich.jar
touch /cloud-ci-vergleich.jar
# (7) pushing the container to Docker Hub
– internal/docker-push:
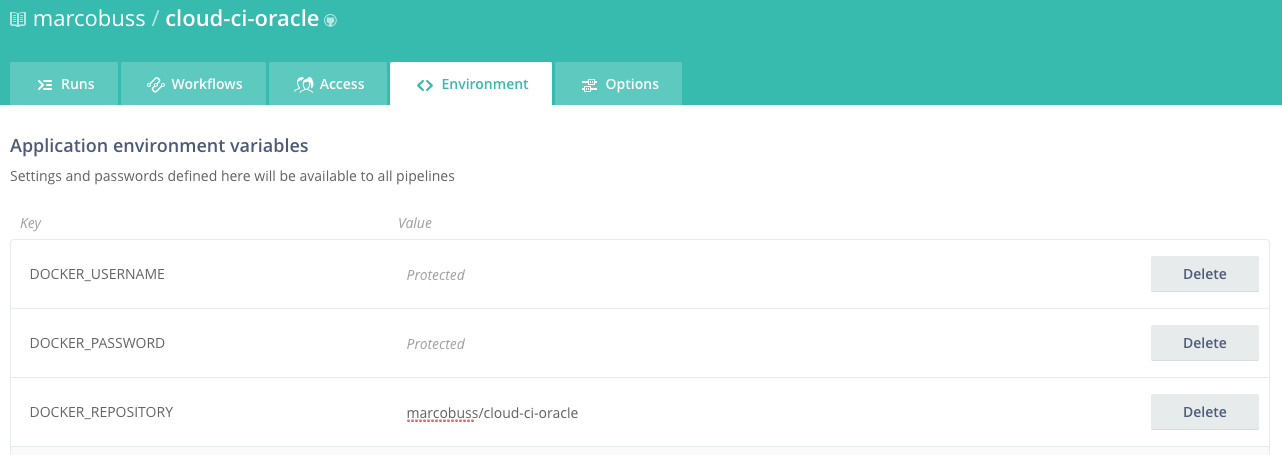
# (8) that is defined in the wercker console as protected environment variables
username: $DOCKER_USERNAME
password: $DOCKER_PASSWORD
tag: latest
repository: $DOCKER_REPOSITORY
# (9) configuration similar to dockerfile
ports: „8080“
volumes: „/tmp“
entrypoint: java -Djava.security.egd=file:/dev/./urandom -jar /cloud-ci-vergleich.jar
– script:
code: |
touch $WERCKER_OUTPUT_DIR/deploy-me
[/code]
- Already defining an name for that pipeline so we can configure Wercker
- Finally we use the openjdk apline docker container as our base container. Please be aware of the cmd: configuration.
- On the first step we move the artifact from the input directory.
- And now the important step. Pushing that image to Docker Hub. The Details about pushing the conatiner and also information to push to other registries can be found here.
- The $DOCKER_USERNAME and $DOCKER_PASSWORD are defined in the Wercker app as protected variables so they are also masked in the log files.
- Here we define some information for our container. The parameters are similar to that used in a standard dockerfile. For all available parameters see here.
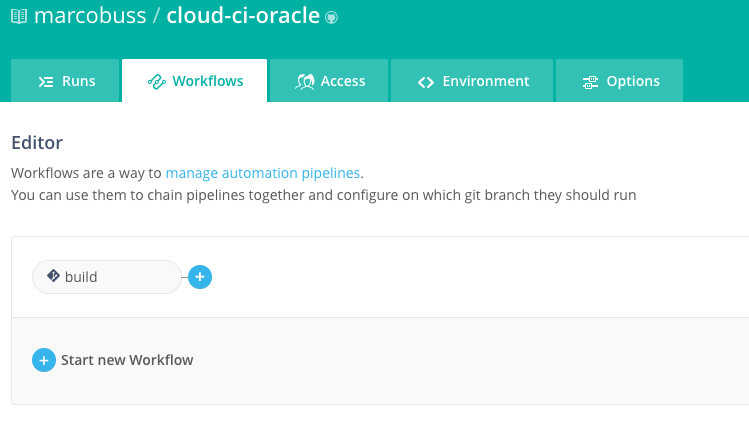
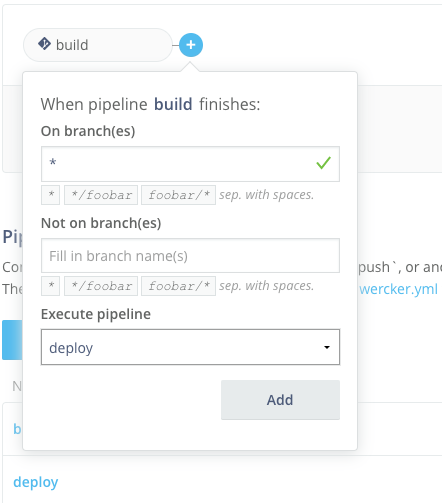
Before we can push the change of our wercker.yml to the repository, we must configure our build workflow so that our new pipeline will be executed.
The new pipeline must now be added to the workflow. To do that click on the + sign right on our build step and fill out the popup form.
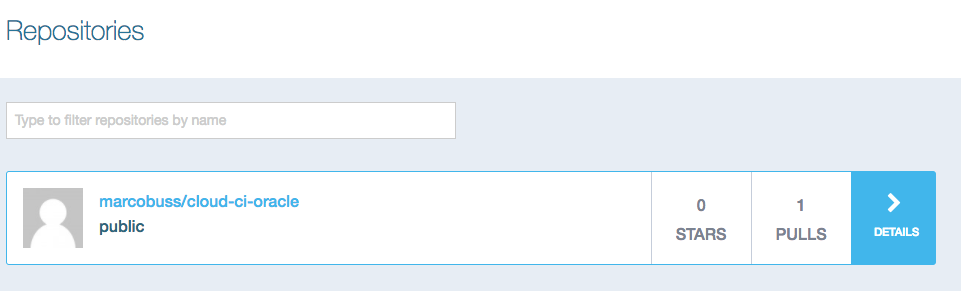
After pushing the changed wercker.yml. The container will be build and deployed to the Docker Hub registry. After the build completes the container can be found in the Docker Hub registry.
Deployment to Oracle Container Cloud Classic
And now the final Step. Deploying the container to the Oracle Container Cloud Classic. For that we use the available RestAPI for that Oracle Service.
In order to get the deployment running some new environment variables must be set.
- OCCS_DEPLOYMENT_ID: The name for our deployment
- OCCS_BASE_URL: The URL from the master node for the Oracle Container Cloud Classic
- OCCS_API_KEY: The API Key that is required to access the RestAPI.

[code]
update-deplyoment:
steps:
– script:
name: Update OCSC deployment
code: |
# (10) Defining the Deployment Config
DEPLOYMENT_CONFIG='{
„deployment_id“:“‚“$OCCS_DEPLOYMENT_ID“‚“,
„deployment_name“:“‚“$OCCS_DEPLOYMENT_ID“‚“,
„desired_state“:1,
„placement“:{„pool_id“:“default“},
„quantities“:{„DevOpsDemo“:1},
„stack“: {
„service_id“: „DevOpsDemo“,
„service_name“: „DevOpsDemo“,
„subtype“: „service“,
„content“: „version: 2\nservices:\n DevOpsDemo:\n image: marcobuss/cloud-ci-oracle\n environment:\n – \“occs:availability=per-pool\“\n – \“occs:scheduler=random\“\n – \“occs:description=Demo Project to show Wercker integration\“\n ports:\n – \“8080:8080/tcp\“\n“
}
}‘
# (11) Check if the deployment allready exists
STATUS=$(curl -sk -o /dev/null -w ‚%{http_code}‘ -X „GET“ -H „Authorization: Bearer ${OCS_API_KEY}“ „${OCCS_BASE_URL}/api/v2/deployments/${OCCS_DEPLOYMENT_ID}“)
echo „Queried Deployment and get response ${STATUS}“
if [ $STATUS -eq 200 ]; then
# (12) if the deployment allready exists, we can initialize the restart of the deployment
echo „Reload Container Deployment“
RESET_URL=“$(curl -sk -X „PUT“ -H „Authorization: Bearer ${OCCS_API_KEY}“ „${OCCS_BASE_URL}/api/v2/deployments/${OCCS_DEPLOYMENT_ID}/webhook/restart“ -d ‚{„enabled“:true}‘ | grep full_url_path | cut -d'“‚ -f4)“
echo „Reset URL: ${OCCS_BASE_URL}${RESET_URL}“
curl -sk -X „POST“ „${OCCS_BASE_URL}${RESET_URL}“
break
else
# (13) creating the deployment from scratch
echo „Try to create new deployment“
curl -sk -X „POST“ -H „Authorization: Bearer ${OCCS_API_KEY}“ „${OCCS_BASE_URL}/api/v2/deployments/“ -d „${DEPLOYMENT_CONFIG}“
fi
[/code]
- That block defines the configuration of the deployment.
- Here we check if the deployment exists.
- If the deployment exists. We must get the webhook URL to restart the service and invoke that URL to trigger an restart, which automatically checks if a new container version is available.
- If the deployment did not exist, the deployment will be created.
Like the step before, we must add the new pipeline to the wercker build workflow as the last step.

After checking in the final wercker.yml the new deployment will be created and after one build we find the deployment in the admin console of OCSC.
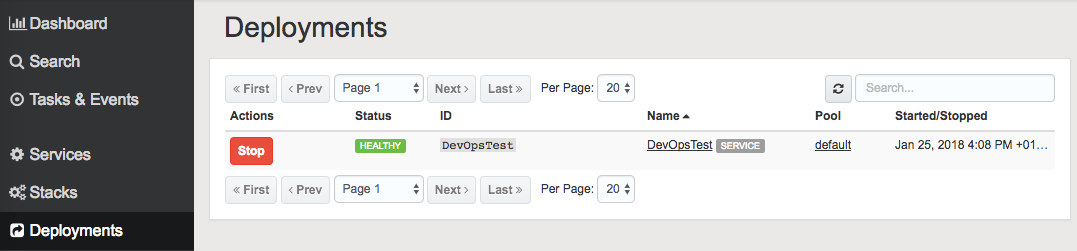
And now finally the service can be invoked with

The complete source code for that example can be found here.


3 Kommentare
Hat dies auf developmentnull rebloggt.
Pingback: Developer Partner Community Newsletter February 2018 | WebLogic Community
Pingback: How to build and deploy your Spring Boot App to Oracle Container Service Classic with Wercker by Marco Buss | Developer Community